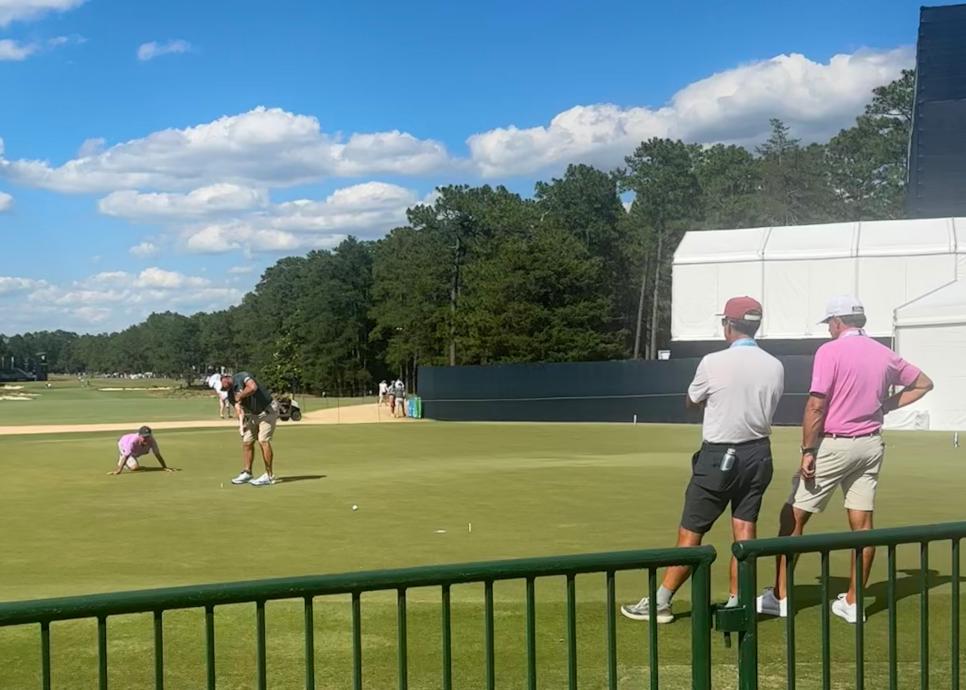
4 putting drills players are using to prep for the 2024 U.S. Open – Australian Golf Digest

- by Admin
- June 11, 2024

The famous turtle-back greens at Pinehurst No. 2 are already generating some buzz. In a press conference during Monday’s practice round, 2023 U.S. Open Champion Wyndham Clark talked about the challenge they’ll present as the week continues.
“Yeah, I mean, they are extremely fast. If they get any firmer and faster, the greens, I mean, they’d be borderline. They already are borderline,” Clark said.
So how exactly do you prepare for such daunting conditions? I scouered the practice green to find out.
During my time on the practice green, I saw players using four key approaches to get their game ready for competition.
A SIMPLE TEE DRILL FOR DISTANCE AND BREAK
It’s not surprising that players are working on their distance control this week, but Pinehurst No. 2’s greens also pose a threat because of their sneaky undulations.
“You have to play a lot of break on these greens,” Clark said, “Normally you’r enot more than four or five inches outside the cup on most greens. Here you’re maybe playing 10 to 12 inches just so that you’re not getting below the hole and having it run away.”
One drill I saw players using to acclimate themselves to the speed and break of No. 2’s greens is a simple tee drill. They start by selecting a putt that’s 15 to 20 feet long, then read the break of the putt. Once they’ve figured out their line, they place a tee parallel to the hole, in line with where they want to start the ball.
This provides players with a visual representation of the line the ball will travel on and gives them a spot to focus on rather than focusing on the hole—which is something coaches prefer their players to do when developing their distance control.
READING THE DEGREE OF SLOPE
While this might not be a drill, per say, but I saw a lot of coaches and players utilizing levels out on the practice green. For players like Max Homa that use Aimpoint, carrying a level allows them to calibrate their feel for the degrees of slope they’ll encounter on the course.
Most players were testing themselves by finding a putt from 10 to 20 feet, feeling the break with their feet and confirming what they felt with the level. This can also be a great tool for players that may not practice Aimpoint, but want to accurately read and adjust their game for the slope of the greens.
SPIRAL DRILL 
One of the best drills I saw players using out on the practice green was a spiral drill. I spoke with Eric Alpenfels, head of instruction at Pinehurst, and he explained that the drill allows players to practice from every angle around the hole. Which helps them adjust to the slope of the green and feel more comfortable standing over a side-hill slider in competition.
To set up your own spiral drill, grab eight to ten tees and find a hole with a bit of room. Place your first tee two feet from the hole and place the next tee four feet away, then six, then eight, and so on and so forth. As you place the tees incrementally further from the hole, they should surround the hole completely and form a spiral, like you see in the picture above of Harris English.
Your goal should be to make three to six putts in a row, depending on your skill set, before moving on to the next tee.
GATE DRILL 
Just because players are focused on speed and break this week doesn’t mean they’re forgetting their fundamentals. Almost every player on the practice green was doing a gate drill to round out their putting practice.
This drill allows players to ensure they’re delivering a square clubface and starting their putts on line, which is key when playing fast, sloping greens like No. 2.
To set up your own gate drill, find a straight putt that’s about six feet from the hole. With two tees, create a gate that’s slightly wider than your putterhead on your start line. Setup to the putt with your ball half an inch in front of the gate. Your goal is to swing your putter through the gate without hitting either of the tees. If you do, you know you’re not delivering a square clubface at impact.
This article was originally published on golfdigest.com
The Latest News
-
December 26, 2024Heatwave sparks warning of potentially devastating wildfires in Australian state
-
December 26, 2024‘Fresh and ready to go’: Sabalenka hungry and ready for more grand slam success
-
December 26, 2024Andy Roddick says he has one big concern about Iga Swiatek heading into the Australian Open
-
December 26, 2024Thanasi Kokkinakis injury: News, updates as Australian tennis player withdraws from Brisbane International | Sporting News Australia
-
December 26, 2024Trickle-down Konstanomics helps Aussie top-order fire | cricket.com.au


